ASTRO PANORAMA SETUP
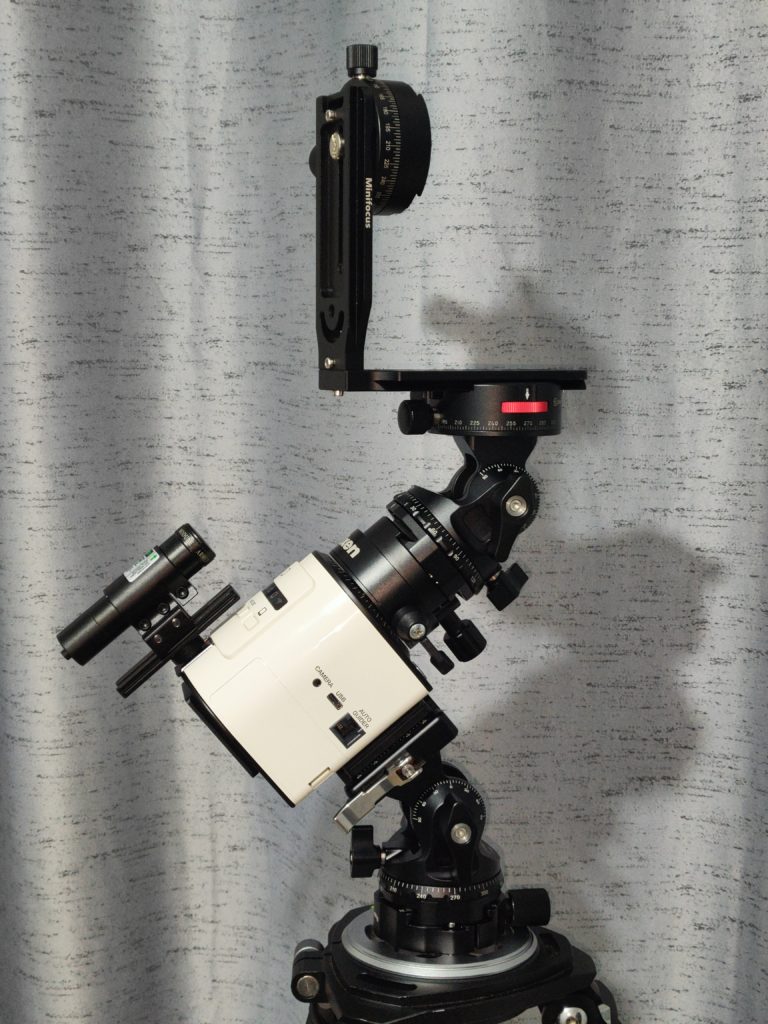
In this section I am going to show you the updated version of the well-known “Setup for tracked panoramas” that I have been using last year for my tracked panoramas of the milky way and orion.
I have already explained this setup before on the “Astrophotography Masterclass” I made with Iván Ferrero some time ago, but been shooting with it a whole season of astrophotography has allowed me to make some improvements over the original version.
This new setup, is an update even more optimized than the one showed in the video, that will allow us to take panoramic photographs of the Milky Way or even mosaics, in an easy and fast way.
“ But, What do we need to build this new setup?? “
An astro freak
The accessories that we will need to assemble this setup are the following:
- A ball head, or equatorial wedge.
- A star tracker, obviously, with the polar alignment system we prefer.
- A two-way head (the typical ones used on monopods).
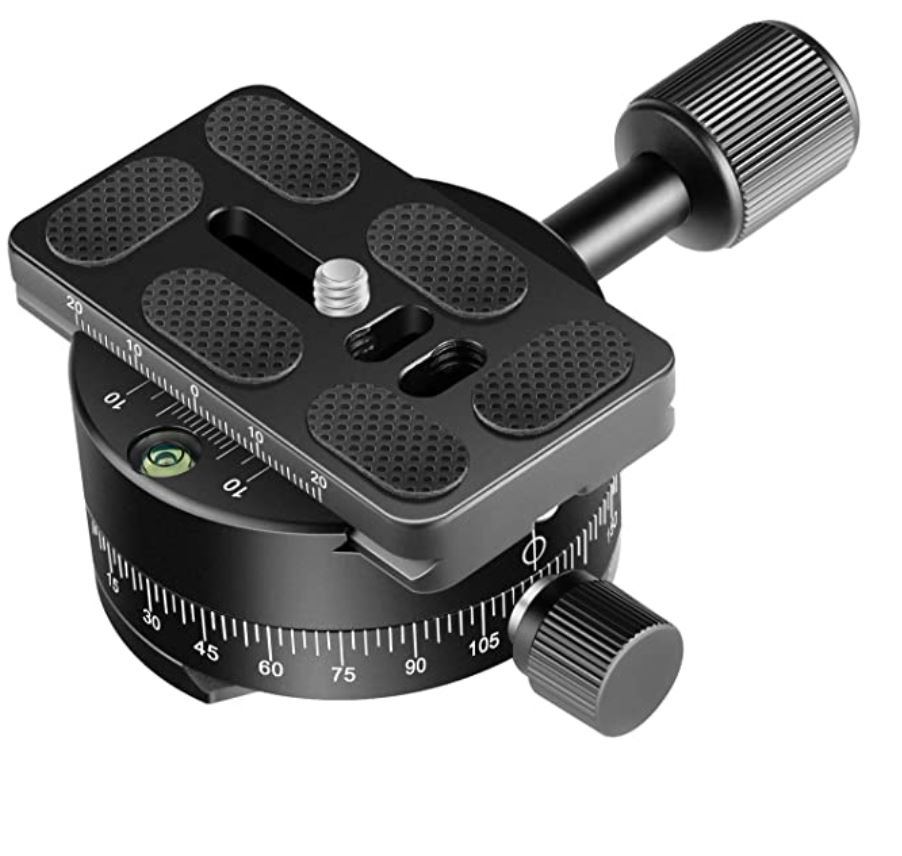
- An indexed rotator to get a panorama with even overlaps.
- A universal “L-Bracket”, to which we will attach a panoramic head.
- Some screws and allen keys.
These are the essential accessories that we will need to assemble this platform,
“ Which ones do you recommend? “
Another astro freak
The brands (and models) I am using right now are:
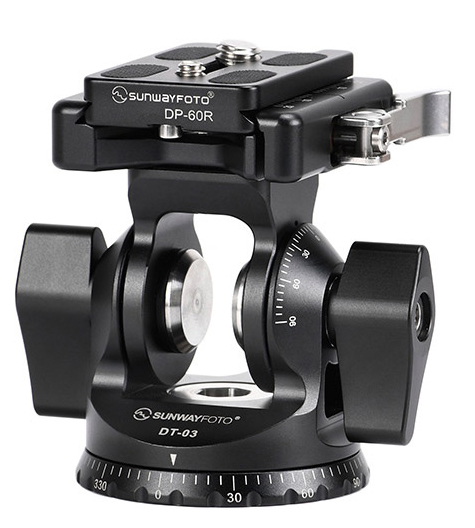
- The Sunwayfoto DT-03 as an equatorial mount and my main two-way head.
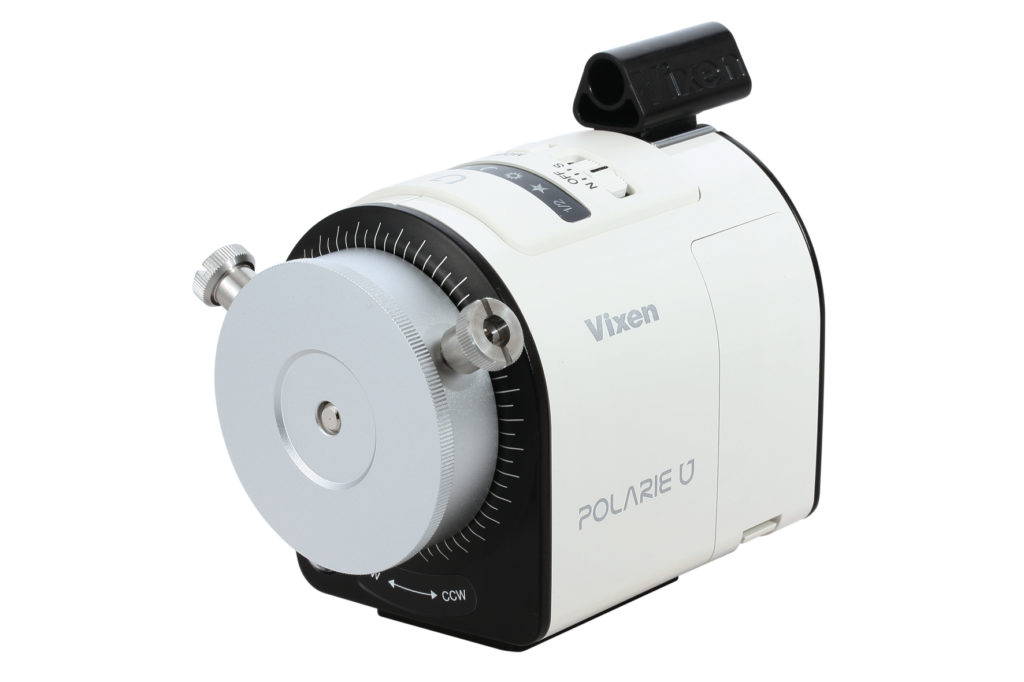
- My Star tracker is the Vixen Polarie U with a laser pointer.
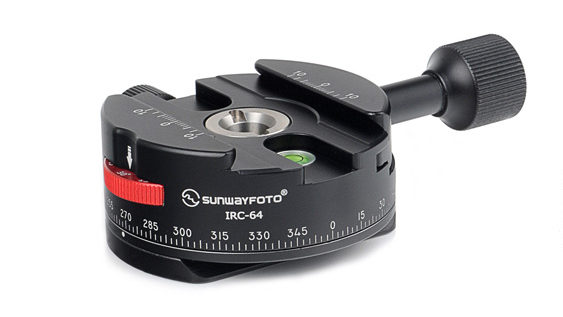
- The Sunwayfoto IRC-64 for the indexing rotator.
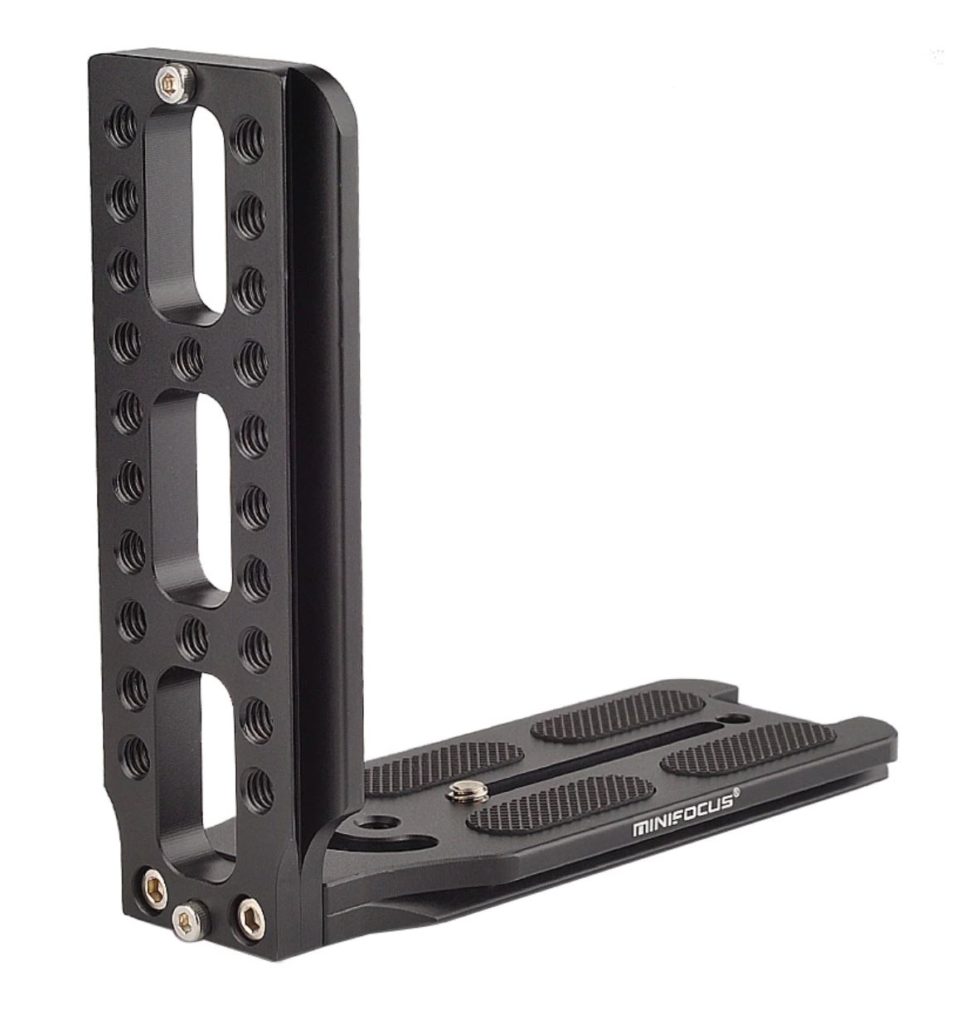
- And this is the Universal “L-Bracket” I am using right now.
- The panoramic head that I have attached to the Universal “L-Bracket” is this one:
For the assembly, and explanation, of the operation of each of the pieces of the setup, I have prepared an explanatory video that you can see below:
I hope this setup can help you with your panoramas and mosaics of the Milky Way.
Cheers and clear skies!!
Jmpince1993
